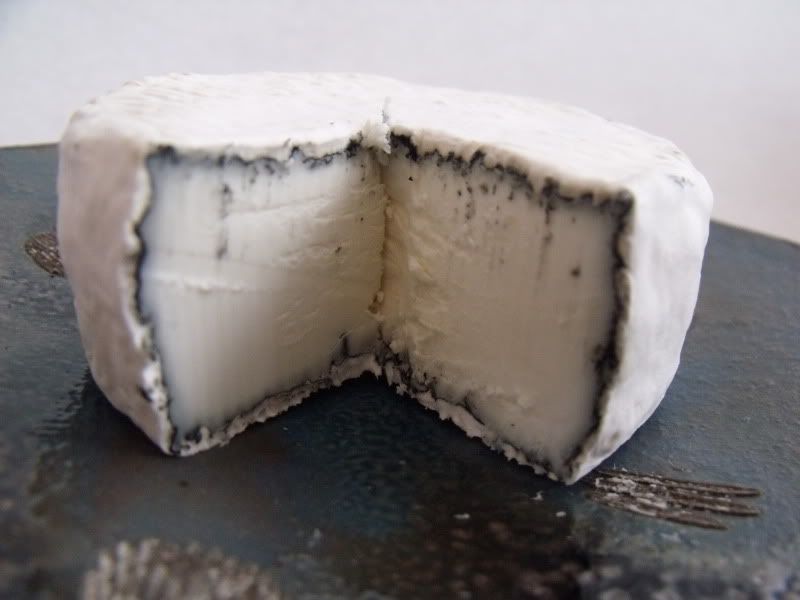
Unlike many fancy European cheeses the cheeses of Holland are pleasingly mild. Gouda has a light clean buttery taste that everybody seems to love. When you're in the mood for something different hot pepper flakes or caraway seeds offer just two variations of this agreeable cheese.
If you are just getting started with cheese making you’ll notice that all recipes basically have the same ingredients, Milk, Rennet, Salt (or brine) and either Mesophilic (requires low temps) or Thermophilic (requires warmer temps) Culture.
For any recipe you can substitute Buttermilk for Meso and Yogurt for Thermo at a rate of 1/4c per gallon of milk. After you master the recipe you can order the more sophisticated cultures and enjoy the difference in flavor and texture.
What makes different types of cheese have their characteristic flavors is the process you take it through. Changing temperatures and times will make a huge difference in flavor and texture. Gouda is a mild, creamy cheese. To achieve proper texture you need to keep your temps low. So watch it really watch it close. To attain that mild Gouda flavor you will wash the curds with cool tap water to halt the progress of acidification.
Remember to sterilize everything with boiling water and/or bleach water (1/4 c bleach per gallon of water) I put everything into my cheese pot (stainless steal, not aluminum) and boil it. You can maintain low temps by placing your cheese pot in a sink of warm water but always check the temp of the sink water. I start with it 3-5 deg. Warmer that I need. So for this recipe which calls for 85* my sink water would be 90* This all sounds a lot more complicated than it is, I promise!
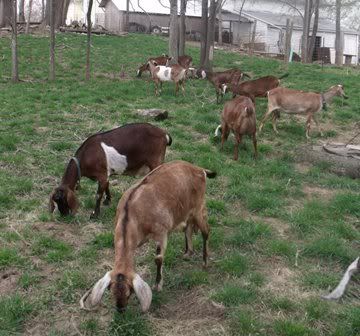
Goat Milk Gouda
Warm 2 gal goat milk to 85*
Add 1/2 tea Mesophilic culture. Stir with an up and down motion, not breaking the surface of the milk
Dilute 3/4 tea rennet to 1/2 c cool water, Stir well into cultured milk
Hold temp at 85* for 30 min. or until clean break
Cut curd into ½ inch cubes, let rest for 5 min., stir 5 min., let rest 5min.
Allow curds to sink to the bottom of the pot
Remove 6 cups of whey and add 6 cups of 140* water, stir 10 min.
Allow curds to sink to the bottom of the pot
Remove whey to level with the surface of the curd
add enough 110* water to bring the level back up to where it was
Stir 20 min. let rest 10min.
Allow curds to sink to the bottom of the pot
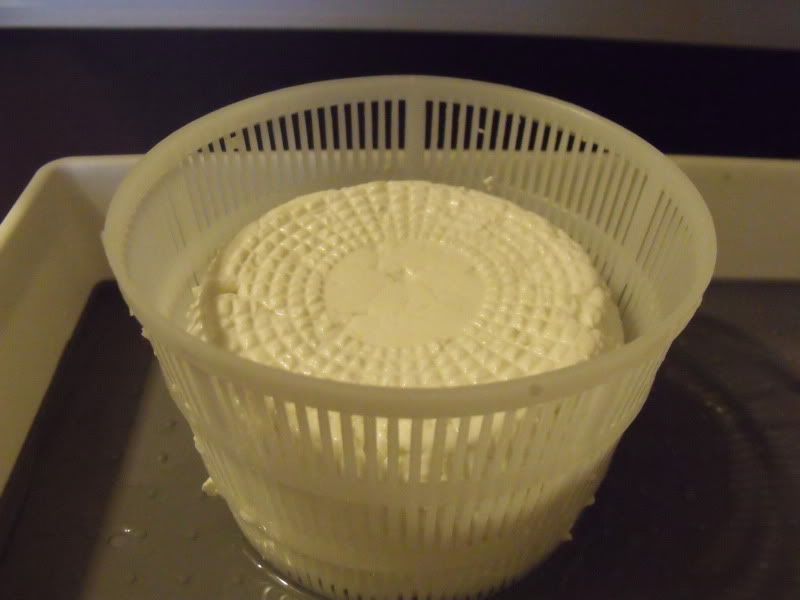
Drain curd
Place curds into a lined press (I use PlyBan instead of cheese cloth in my press, I love it)
Press
20lbs 20 min
flip and rewrap (so it won’t stick to the cloth or plyban)
30lbs 30min
Flip/Rewrap
Overnight at 30lbs
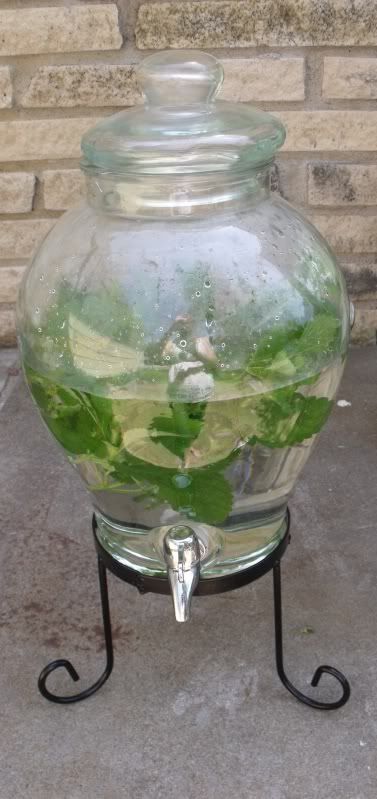
Submerge cheese in brine overnight
Air dry for a few days, ripen at 53* and 85% humility for a week or more, then wax or seal with a food sealer and age for 6 weeks or longer.